Outline
This method is used to repair minor damage to a key slot, or other cutout in a printed board or assembly. The area is repaired using high strength epoxy.
Caution
Care should be taken to limit the application of epoxy to the specific areas desired and to avoid damage to the conductive patterns, contacts and components.
Minimum Skill Level - Advanced
Recommended for technicians with soldering and component rework skills and exposure to most repair/rework procedures, but lacking extensive experience.
Conformance Level - High
This procedure most closely duplicates the physical characteristics of the original, and most probably complies with all the functional, environmental and serviceability factors.
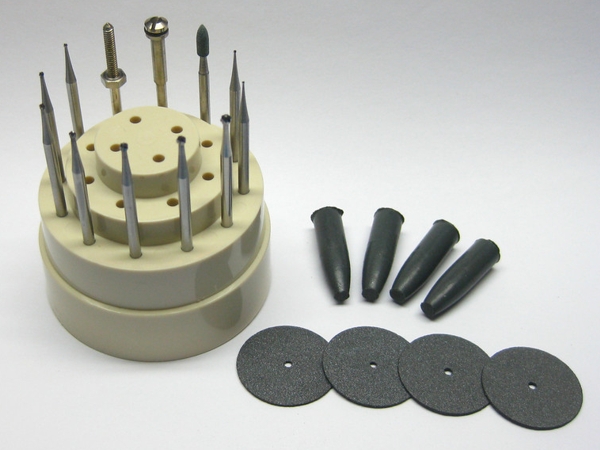
Micro Drill System
Versatile power tool for milling, drilling, grinding, cutting and sanding circuit boards.
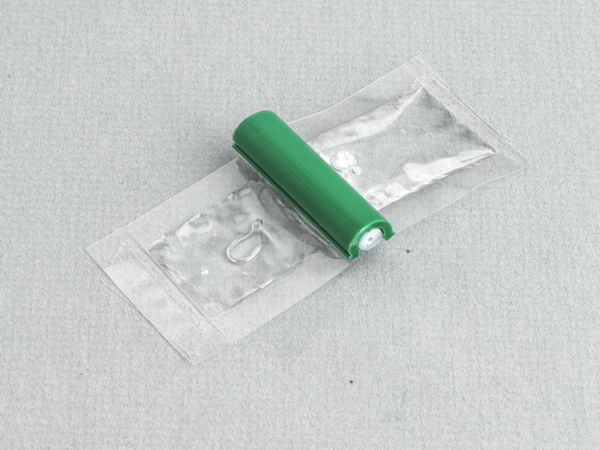
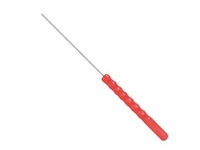
Micro Probes
Use to dispense a minute amount of adhesive and for micro-positioning of small objects.
Oven
General purpose oven for drying, baking and curing epoxies.
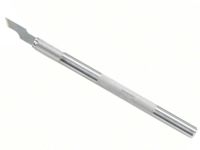
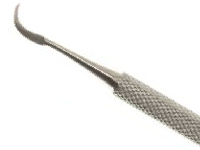
Scraper
Hardened stainless steel tip for scraping solder mask and removing defects.
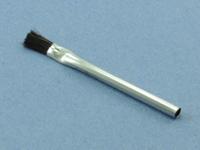
Wipes
Nonabrasive, low-linting wipes for cleanup.
Images and Figures
Damaged Key Slot
Figure 1: Mill away the damaged board base material using a Micro-Drill System and ball mill.
Figure 2: Apply epoxy to the edges of the key slot using a mixing stick or micro-probe.
Figure 3: Completed key slot repair.
Figure 4: Micro-Drill System.
Procedure
Clean the area to be filled, including the edges.
Mill away the damaged board base material using a micro-drill system and ball mill. All damaged base board material must be removed. No fibers of laminate material should be exposed at the surface of the keyslot. (See Figure 1)
Note
To clearly see that all damaged material has been removed, flood the area with alcohol or solvent. Damaged internal fibers of the base material will show up clearly.
Caution
Abrasion operations can generate electrostatic charges.
Remove all loose material and clean the area.
Apply high temperature tape to the surface of the circuit board adjacent to the slot. The tape should protect any adjacent contacts or components.
Note
The circuit board may be preheated prior to filling the area with epoxy. A preheated circuit board will allow the epoxy to easily flow and level out. Epoxy applied to an unheated circuit board may settle below the circuit board surface as the epoxy cures.
Mix the epoxy. If desired, add color agent to the mixed epoxy to match the circuit board color.
Apply a small amount of epoxy to the edges of the slot. A mixing stick sharpened at the end, or micro-probe may be used. (See Figure 2)
Note
A slight overfill of epoxy may be desired to allow for shrinkage when epoxy cures.
Note
The circuit board may be turned on its side to keep the epoxy in place while it cures.
Cure the epoxy per Procedure 2.7 Epoxy Mixing and Handling.
Caution
Some components may be sensitive to high temperature.
After the epoxy has cured remove the tape.
If needed use a knife or scraper and scrape off any excess epoxy.
If precision is required, machine the edges of the slot using a milling machine or precision drill system and appropriate milling cutter. Use great care to correctly relocate the slot.
Note
If needed, apply additional thin coating to seal any scraped areas.
Clean the area.
Evaluation
Visual examination and measurement of key slot location and dimension.