Circuit Technology Center 22 Parkridge Road
Haverhill, MA 01835 USA
www.circuitrework.com

2.3.4 Coating Removal, Thermal Method

Use controlled heat to soften and remove conformal coatings in targeted repair areas. Learn proper temperature control, tooling selection and risk mitigation to prevent substrate damage during rework.


REQUEST FOR QUOTE    GUIDES INDEX
slide 1
Coating Removal, Thermal Method
slide 2
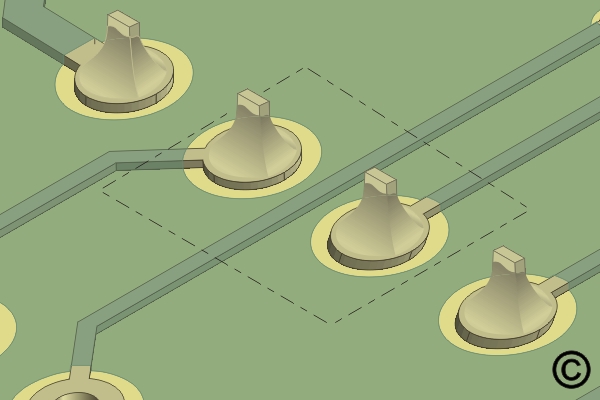
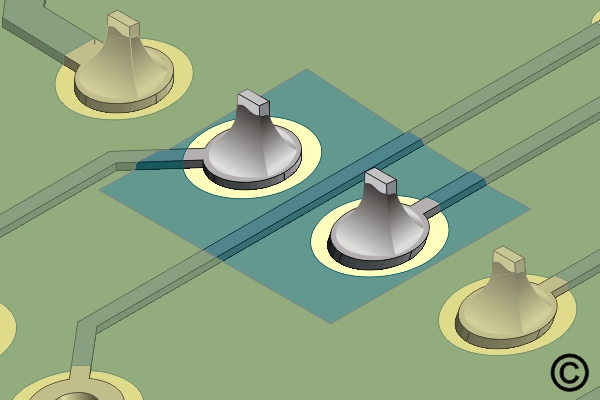
The area requiring coating removal is identified.
slide 3
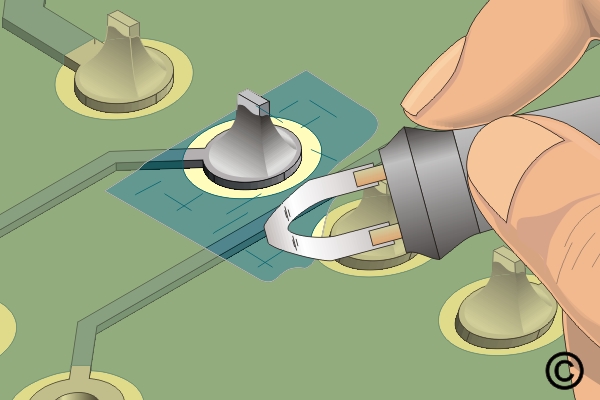
Select an appropriate thermal tip and set the tip temperature. Apply the tip to the coating using light pressure to soften and remove the coating.
slide 4
Optionally apply hot air to the work area and use a wood stick to remove the overcured coating.
slide 5
Continue as needed until the required coating material is removed.
SLIDESHOW STARTING

Outline

This coating removal procedure uses a controlled, low-temperature, localized heating method to remove thick coatings by overturning or softening them.

Caution: Soldering irons should not be used for coating removal as their high operating temperatures will cause the coatings to char and possibly delaminate the printed board base material.

The use of thinned-down soldering iron tips or soldering iron-heated thin cutting blades is not recommended since they do not provide controlled heating and may present dangerous sharp edges to the workpiece surface. The coating must first be identified to determine the appropriate coating removal procedure. Refer to procedure number 2.3.1.

Minimum Skill Level - Advanced

Recommended for technicians with soldering and component rework skills and exposure to most repair/rework procedures, but lacking extensive experience.

Conformance Level - High

This procedure most closely duplicates the physical characteristics of the original, and most probably complies with all the functional, environmental and serviceability factors.

Tools and Materials

Procedure

Thermal Parting Method

  1. Select an appropriate thermal parting tip to suit the workpiece configuration. Set the nominal tip temperature using the manufacturer's recommended procedure.
  2. Apply the thermal parting tip to the coating using light pressure. The coating material will either soften or granulate. Polyurethanes will soften, and epoxies will granulate. The tip temperature should be regulated to a point where it will effectively "break down" the coating without scorching or charring. (See Figure 1)
  3. Gradually reduce the coating thickness around the component body without contacting the board surface. Clip leads of component parts that are known to be faulty, thus permitting the removal of the part body separately from leads and solder joints. Low-pressure air or a brush should be used to remove the loosened coating.
  4. Once a sufficient coating has been removed, leaving only a small bonded joint between the part body and printed board, heat the component body with the thermal parting tool or hot air jet to weaken the bond beneath the component.
  5. Lift the component body free of the printed board using small pliers.
    Note: Twist the component before removal to shear any remaining epoxy bond to the printed board surface.
  6. Once the component body has been removed from the board surface, additional thermal parting can remove the remaining coating material. The remaining leads and solder joints are removed by appropriate solder extraction means.

Hot Air Method
By controlling the gas/air temperature, flow rates, and jet shape, the hot air method can be applied to almost any workpiece configuration on both the component and solder sides of the printed board without damage. Extremely delicate work can be handled this way while permitting direct observation of the heating action.

  1. Set up the hot air tool according to the manufacturer's instructions. Adjust the flow rate and temperature to suit specific coating removal applications. 
    Caution: Never set the gas/air temperature at a level that will scorch or char the coating material or reflow the solder connections.
  2. Apply the heated air jet to the work area. Apply light pressure using a wooden stick or other non-marring tool to remove the softened or overcured coating. All coating around individual leads, solder joints, and component bodies can be removed in this manner. (See Figure 2)
  3. When the coating has been removed, use the appropriate solder extraction method to remove components if needed.

Evaluation

  1. Visual examination or UV light may be used to verify the complete removal of the coating.

Images

QUICK QUESTION?
Have a general inquiry?
Send us a message below.
NEED A FORMAL QUOTE?
Submit a request using our quote form.